One Sunday afternoon, after watching an Adam Savage one-day build, I ran out of internet. I stood up, paced a moment about what to do next, and realized that I had an idea to make a test tube sort of rack for my ink sample vials. So, thanks, Adam Savage, for inspiring me to just build things and not ask stupid questions.
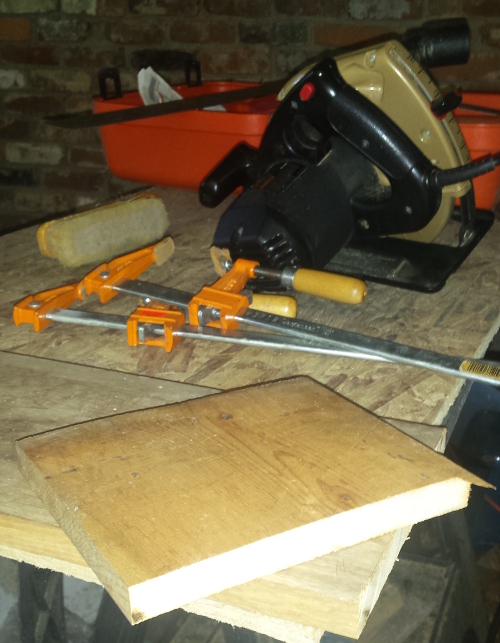
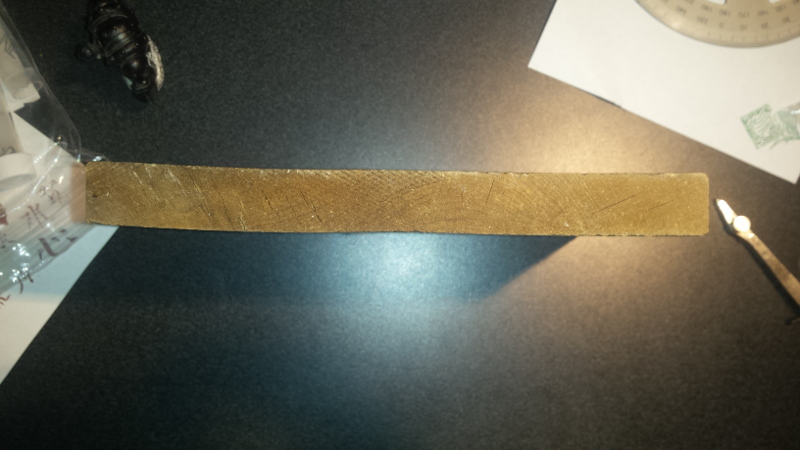
First, I looked to see if I had supplies. I knew I had a strip of softwood around from years ago, but I don’t know what happened to it. I did find a board that was being used to keep the feet of dad’s bench-press off the floor. It was then I realized that whatever I built could have any shape, and that circles are cooler than lines. So, I asked to grab a chunk off the board, if there were any tips or tools that could come in handy, and got to work.
The first step was just a circular saw cut. The wood had sat essentially unprotected outside for years, so there was quite a bit of warping. Thankfully, I am not manufacturing a part to meet any standards, so I can just not worry about it.
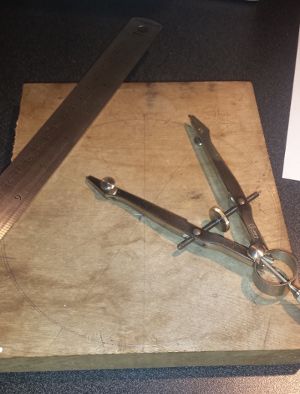
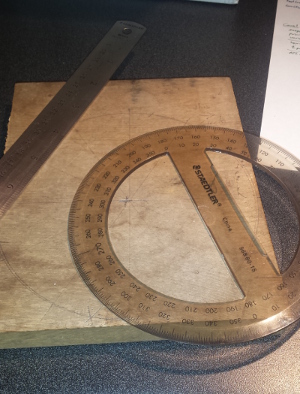
Next up was measurement. I needed to choose where to take my circle from the wood. Then, I needed to choose how many vial holders I wanted. I decided on twelve vials, because it’s a highly composite number, and I’m a big fan (on paper) of the dozenal number system (0 1 2 3 4 5 6 7 8 9 ᘔ Ɛ). That also meant I got to do one of my favorite compass constructions: a regular hexagon! But, what I hadn’t counted on was that compass constructions don’t work in curved geometries…
…so I used a protractor like a plebeian.
Next up was cutting out the circle with a jigsaw. I don’t have any pictures of that, because it took hours, and I got frustrated, and I forgot. But hey, it’s cutting a circle freehand, it’s not that exciting.1 The actual procedure was to slice off a bit of wood that would get me withing a millimeter or less of the circle I wanted. Then, as I waited for the jigsaw motor to cool, I used a circular sander with 60-grit paper on the edge to grind the piece to about-precicely where I wanted.
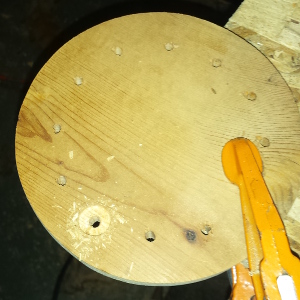
The next step was making the holes for the vials to sit in. I experimented on a bit of scrap I cut away from the circle, and it turned out that a 3/8in bit was perfect for the vials to sit in. I expect, and expected beforehand, the vials were made to a standard size. I bored out 2-3mm deep on the back of the piece, then completed the boring from the front. In any case, the wood did not agree with the drill bit, and the boring process resulted in chips being taken out of the surface. It didn’t impact the functionality, and I decided it didn’t matter, but it would be nice to figure out what went wrong so I can do it better in the future when it does matter.
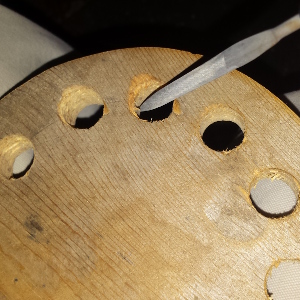
In any case, I now reached the finishing stage. I rounded the top outer edge of the piece with the circular sander still with the 60-grit. I hit the entire outer surface with 220-grit sandpaper.3 Finally, for the inner surfaces, I grabbed a small, rounded file and went at for a while. I rounded the tops of the vial holes, and then set to the futile work of smoothing the inner surfaces. They did smooth some, but these remain the roughest surfaces. It doesn’t scratch the plastic though, so I’m good with that.
And this is the final product, loaded up with (mostly empty) sample vials. Overall, I’m quite pleased. I designed and built the entire thing in five hours for zero dollars from scrap and tools the family had laying around the house. On top of that, it’s fully functional, and I made no major mistakes (i.e. unexpected waste of material, broken tools, injuries). I have every expectation that the roundel will survive my use, since the stock had already been beaten to hell without incident.
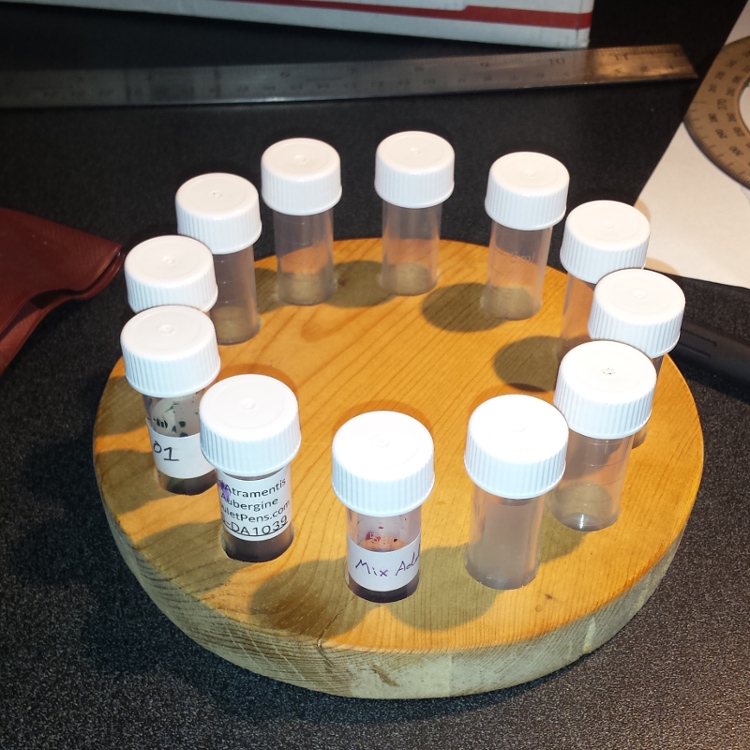
There’s even room for expansion. At the moment, a bottle of ink can sit very comfortably in the middle, or I could drill out another ring of holes. Obviously, though, I’m not using a lot of samples, so the most interesting improvement would be to turn it into a lazy susan. That would require a trip out for some sort of bearing, though, so maybe later.